Introduction
There’s something magical about pierogi—a dish that feels like comfort food wrapped in dough. Whether stuffed with potatoes and cheese, mushrooms, or sweet fruit fillings, pierogi hold memories of family tables, festive celebrations, and cozy weekends. The heart of every delicious pierogi, however, is the dough itself.
This pierogi dough recipe is soft, elastic, and versatile—perfect for both sweet and savory fillings. With just a few simple ingredients, you’ll have a dough that rolls easily, seals tightly, and cooks into pillowy dumplings ready to be enjoyed any time of the year.
What Is Pierogi Dough?
Pierogi dough is a simple unleavened dough traditionally used in Polish and Eastern European dumplings. Unlike pasta dough, it’s softer and more pliable, designed to hold hearty or delicate fillings without breaking apart during boiling.
The best pierogi dough should:
- Be easy to roll thin without tearing
- Stay soft after cooking
- Works well with both savory and sweet fillings
Ingredients You’ll Need
For this recipe, you’ll only need basic pantry staples:
- 3 cups all-purpose flour (plus extra for rolling)
- 1 large egg
- 1 cup warm water
- 2 tablespoons sour cream or plain yogurt (optional for softness)
- 1 teaspoon salt
- 2 tablespoons neutral oil or melted butter
💡 Keyword Note: Here we naturally include pierogi dough ingredients and variations like best flour for pierogi dough.
Step-by-Step Instructions
Step 1: Mix the Dough
In a large bowl, whisk together flour and salt. Make a well in the center and add egg, oil (or butter), and half of the warm water.
Step 2: Knead Until Smooth
Gradually add the remaining water while mixing. Transfer the dough onto a floured surface and knead for 5–7 minutes until smooth and elastic.
Step 3: Rest the Dough
Cover with a clean towel or wrap in plastic. Let it rest for 30 minutes—this makes rolling much easier.
Step 4: Roll and Cut
Roll the dough thin (about 1/8 inch). Use a round cutter or a glass to cut circles.
Step 5: Fill and Seal
Place your desired filling in the center, fold in half, and pinch the edges tightly to seal.
💡 Keyword Note: Naturally works in how to make pierogi dough and easy pierogi dough recipe.
Tools and Equipment You’ll Need
- Rolling pin
- Dough cutter or round glass
- Large pot for boiling
- Slotted spoon for lifting pierogi
- A clean towel for resting the dough
Expert Tips for Perfect Pierogi Dough
- Don’t skip the resting step—it prevents tough dough.
- Add sour cream for a softer, tender dough.
- If the dough feels sticky, dust with flour while rolling.
- If the dough is too dry, add a teaspoon of water at a time.
Variations of Pierogi Dough
1. Vegan Pierogi Dough
Skip the egg and use olive oil + warm water.
2. Gluten-Free Pierogi Dough
Use a gluten-free all-purpose blend with xanthan gum for elasticity.
3. Traditional Polish Pierogi Dough
Made with flour, egg, water, and salt only—simple and authentic.
Serving Suggestions
Pierogi pair beautifully with both savory and sweet toppings:
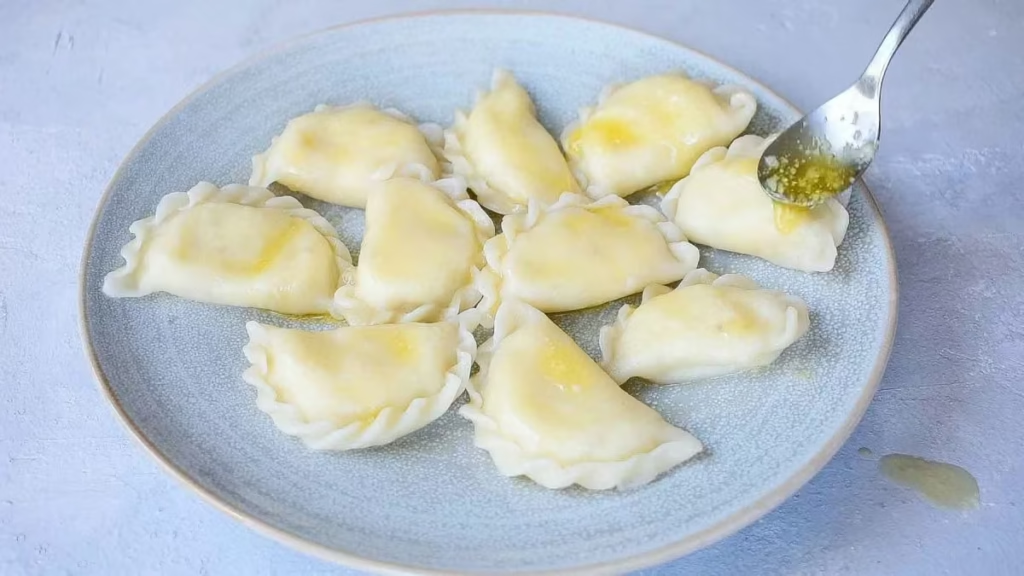
- Savory Pierogi: caramelized onions, sour cream, or melted butter
- Sweet Pierogi: powdered sugar, whipped cream, or a drizzle of honey
Storage and Reheating
- Fridge: Store uncooked dough wrapped tightly for up to 2 days.
- Freezer: Freeze filled pierogi on a tray, then transfer to bags. Cook from frozen without thawing.
- Reheating: Pan-fry leftover pierogi in butter for a crispy twist.
Nutrition Facts (Per Dough Serving – Approx. 1/12 batch)
- Calories: 110
- Carbs: 22g
- Protein: 3g
- Fat: 2g
Related Recipes You May Like
- Classic Potato and Cheese Pierogi Filling
- Sweet Cherry Pierogi Dessert
- Homemade Ravioli Dough
- Easy Dumpling Wrappers
Conclusion
Making pierogi dough for sweet and savory fillings is all about balance: soft enough to fold, strong enough to hold the filling, and flavorful enough to shine on its own. With this recipe, you’ll master a dough that can be adapted to countless variations—whether you crave a savory potato pierogi or a sweet blueberry-filled treat.
Pierogi aren’t just food—they’re an experience. And with the right dough, every bite becomes a memory.
Frequently Asked Questions
1. Can I make pierogi dough ahead of time?
Yes, you can refrigerate it up to 2 days or freeze shaped pierogi.
2. Why is my pierogi dough tough?
Over-kneading or not enough resting time can make the dough chewy.
3. Can I use bread flour instead of all-purpose?
It’s possible, but bread flour may make the dough too elastic. Stick with all-purpose for the best results.
4. How thin should I roll pierogi dough?
Around 1/8 inch is ideal—thin enough to cook evenly but sturdy for filling.
5. What fillings work best with this dough?
Everything from potatoes and cheese to blueberries or cherries—the dough is versatile!